Setup Laravel with CircleCI and deploy to Laravel Forge
Introduction
We'll setup CircleCI and connect with Laravel Forge to setup a continuous deployment.
This article assumes that you already have a Laravel project setup, if not, consult the Laravel Documentation to start a project and continue reading.
You may find the repository here
Write a simple test
Laravel ships with a default test so go ahead and open tests/Feature/ExampleTest.php or you can create your own test by running php artisan make:test UserTest
You probably already have a test setup in your project, this section is only written as a guide so you can go jump ahead to the next section.
<?php

namespace Tests\Feature;

use App\Models\User;
use Illuminate\Foundation\Testing\RefreshDatabase;
use Illuminate\Foundation\Testing\WithFaker;
use Tests\TestCase;

class UserTest extends TestCase
{
    use RefreshDatabase;
    use WithFaker;

    /**
     * Test users can be created and stored in database.
     *
     * @return void
     */
    public function test_can_store_users()
    {
        $name = $this->faker()->name();

        User::factory()->create([
            'name' => $name
        ]);

        $this->assertDatabaseCount('users', 1);
        $this->assertDatabaseHas('users', [
            'name' => $name
        ]);
    }
}
Setup testing environment
Duplicate the .env.example and rename it to .env.testing then set DB_CONNECTION key to ‘sqlite’ lastly, APP_ENV to testing. See the following for example:
APP_NAME=Laravel
APP_ENV=testing
APP_KEY=
APP_DEBUG=true
APP_URL=http://localhost

DB_CONNECTION=sqlite
Running the tests
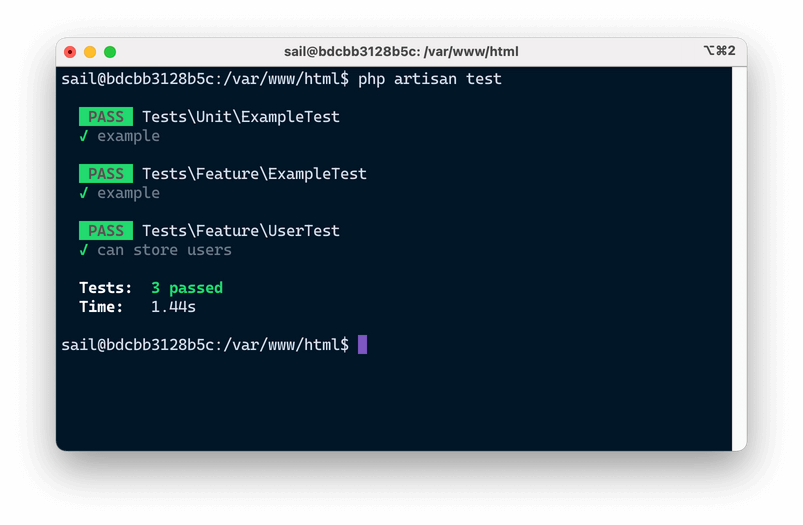
Now to run the tests, we need to run either ./vendor/bin/phpunit or php artisan test which is available for Laravel 7 and above.
php artisan testThe result should look like the following:
Setup CircleCI
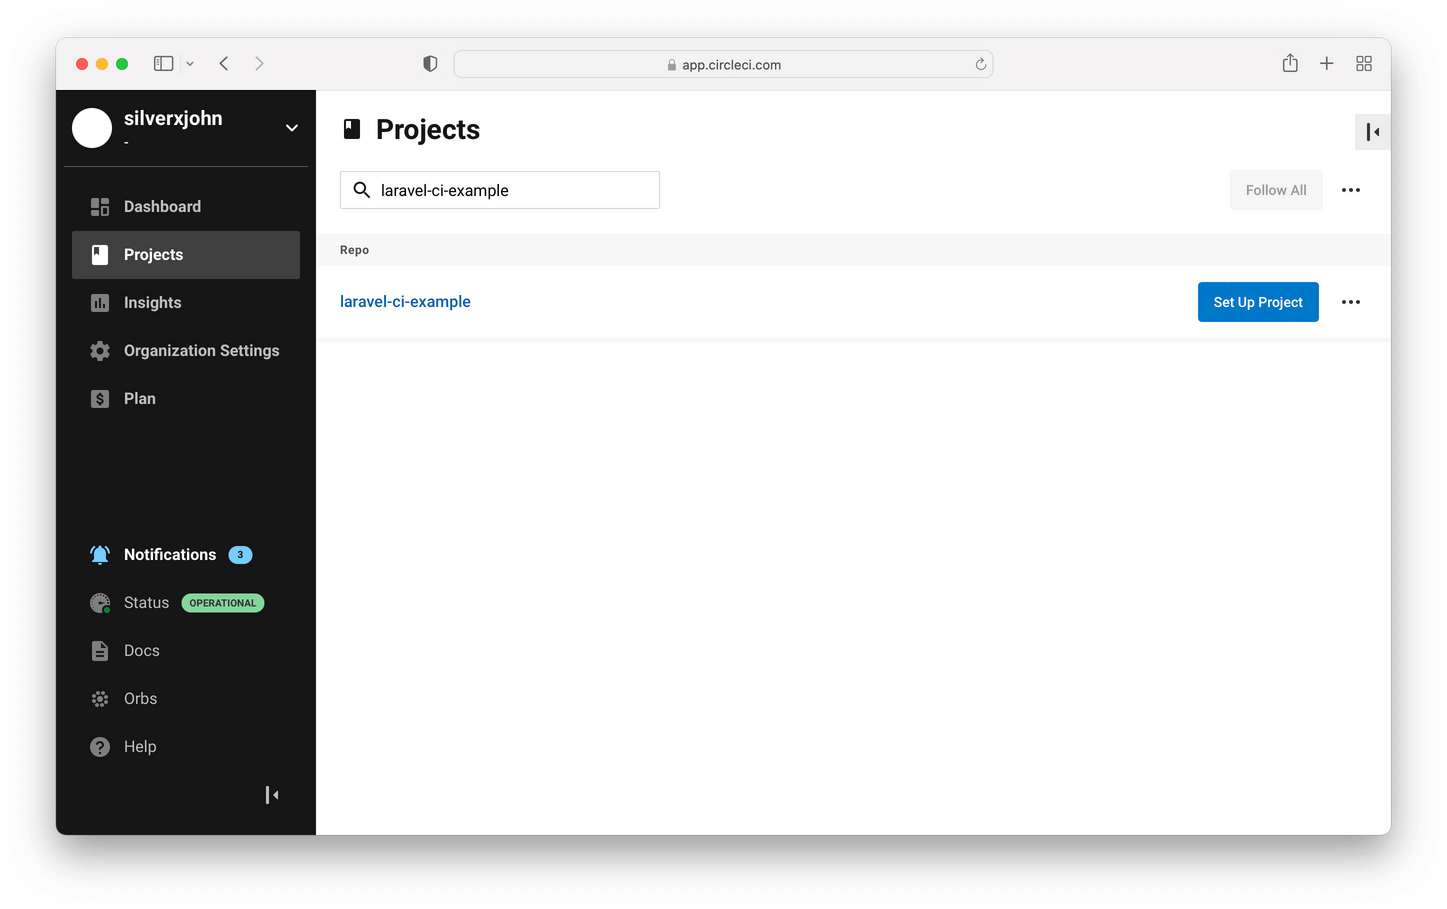
Signup on CircleCI to create a free account and link your Github account. After which will redirect you to your Projects page where you can select which repository CircleCI will be setup.
After you've selected the repository among the list, it will prompt you to choose where do you want to write your own config.yml.
A list of sample config will be presented to you, these are the templates where you can build upon. For our purpose, choose PHP.
Setup test environment
At the time of this writing, the newer PHP template will have PHP 7.1 which is not the version we want. Laravel 8 requires at least version 7.3 or above. In this tutorial, we’ll be building the CD with PHP 8. If you wish to use a different version, feel free to browse the list of docker images CircleCI provides (cimg/php - CircleCI) then update the image value from your config.yml.
---
jobs:
    build:
        # Specify the execution environment. You can specify an image from Dockerhub or use one of our Convenience Images from CircleCI's Developer Hub.
        # See: https://circleci.com/docs/2.0/configuration-reference/#docker-machine-macos-windows-executor
        docker:
            # Specify the version you desire here
            - image: cimg/php:8.1.1-browsers
Based on recent docker images that CircleCI releases, docker-extensions are no longer available by default. To install the zip package, we need to make additional changes to the following step:
steps:
    - checkout

    - run: sudo apt update # PHP CircleCI 2.0 Configuration File# PHP CircleCI 2.0 Configuration File sudo apt install zlib1g-dev libsqlite3-dev
    - run: sudo apt-get install zip
We can leave the following as-is to install all our Composer and NPM dependencies. It will also cache the packages so it will only run when there are changes in the composer.json or package.json file. This will greatly speed up our build process because remember: CircleCI's pricing is based on the amount of time incurred during the build process.
- save_cache:
      key: v1-dependencies-{{ checksum "composer.json" }}
      paths:
          - ./vendor
- restore_cache:
      keys:
          - node-v1-{{ checksum "package.json" }}
          - node-v1-
- run: npm install
- save_cache:
      key: node-v1-{{ checksum "package.json" }}
      paths:
          - node_modules
Next, we need to create our sqlite database and .env file. We'll create an empty file for our sqlite database by using the touch command; then generate a random app key to our .env.testing file by passing the --env=testing flag and finally run our tests using php artisan test. This is where you can add additional commands if you have complex setup that you needed run before running the test.
# prepare the database
- run:
      name: 'Create a database'
      command: touch database/database.sqlite

- run:
      name: 'Generate app key'
      command: php artisan key:generate --env=testing

- run:
      name: 'Run PHPUnit test'
      command: php artisan test
You may also want to make sure that your assets are build successfully by running npm run production.
- run:
      name: 'Compile assets for production'
      command: npm run production
The following is the final config.yml
# PHP CircleCI 2.0 configuration file
# See: https://circleci.com/docs/2.0/language-php/
version: 2

# Define a job to be invoked later in a workflow.
# See: https://circleci.com/docs/2.0/configuration-reference/#jobs
jobs:
    build:
        # Specify the execution environment. You can specify an image from Dockerhub or use one of our Convenience Images from CircleCI's Developer Hub.
        # See: https://circleci.com/docs/2.0/configuration-reference/#docker-machine-macos-windows-executor
        docker:
            # Specify the version you desire here
            - image: cimg/php:8.1.1-browsers

            # Specify service dependencies here if necessary
            # CircleCI maintains a library of pre-built images
            # documented at https://circleci.com/docs/2.0/circleci-images/
            # Using the RAM variation mitigates I/O contention
            # for database intensive operations.
            # - image: circleci/mysql:5.7-ram
            #
            # - image: redis:2.8.19

        # Add steps to the job
        # See: https://circleci.com/docs/2.0/configuration-reference/#steps
        steps:
            - checkout

            - run: sudo apt update # PHP CircleCI 2.0 Configuration File# PHP CircleCI 2.0 Configuration File sudo apt install zlib1g-dev libsqlite3-dev
            - run: sudo apt-get install zip

            # Download and cache dependencies
            - restore_cache:
                  keys:
                      # "composer.lock" can be used if it is committed to the repo
                      - v1-dependencies-{{ checksum "composer.json" }}
                      # fallback to using the latest cache if no exact match is found
                      - v1-dependencies-

            - run: composer install -n --prefer-dist

            - save_cache:
                  key: v1-dependencies-{{ checksum "composer.json" }}
                  paths:
                      - ./vendor
            - restore_cache:
                  keys:
                      - node-v1-{{ checksum "package.json" }}
                      - node-v1-
            - run: npm install
            - save_cache:
                  key: node-v1-{{ checksum "package.json" }}
                  paths:
                      - node_modules

            # prepare the database
            - run:
                  name: 'Create a database'
                  command: touch database/database.sqlite

            - run:
                  name: 'Generate app key'
                  command: php artisan key:generate --env=testing

            - run:
                  name: 'Run PHPUnit test'
                  command: php artisan test

            - run:
                  name: 'Compile assets for production'
                  command: npm run production
Running the pipeline
Now that we have successfully written a blueprint for our CI/CD integration, we can now save the config.yml and execute the pipeline by clicking the 'Commit and Run' button at the top-right corner of the page.

Watch as it run the commands we specified.
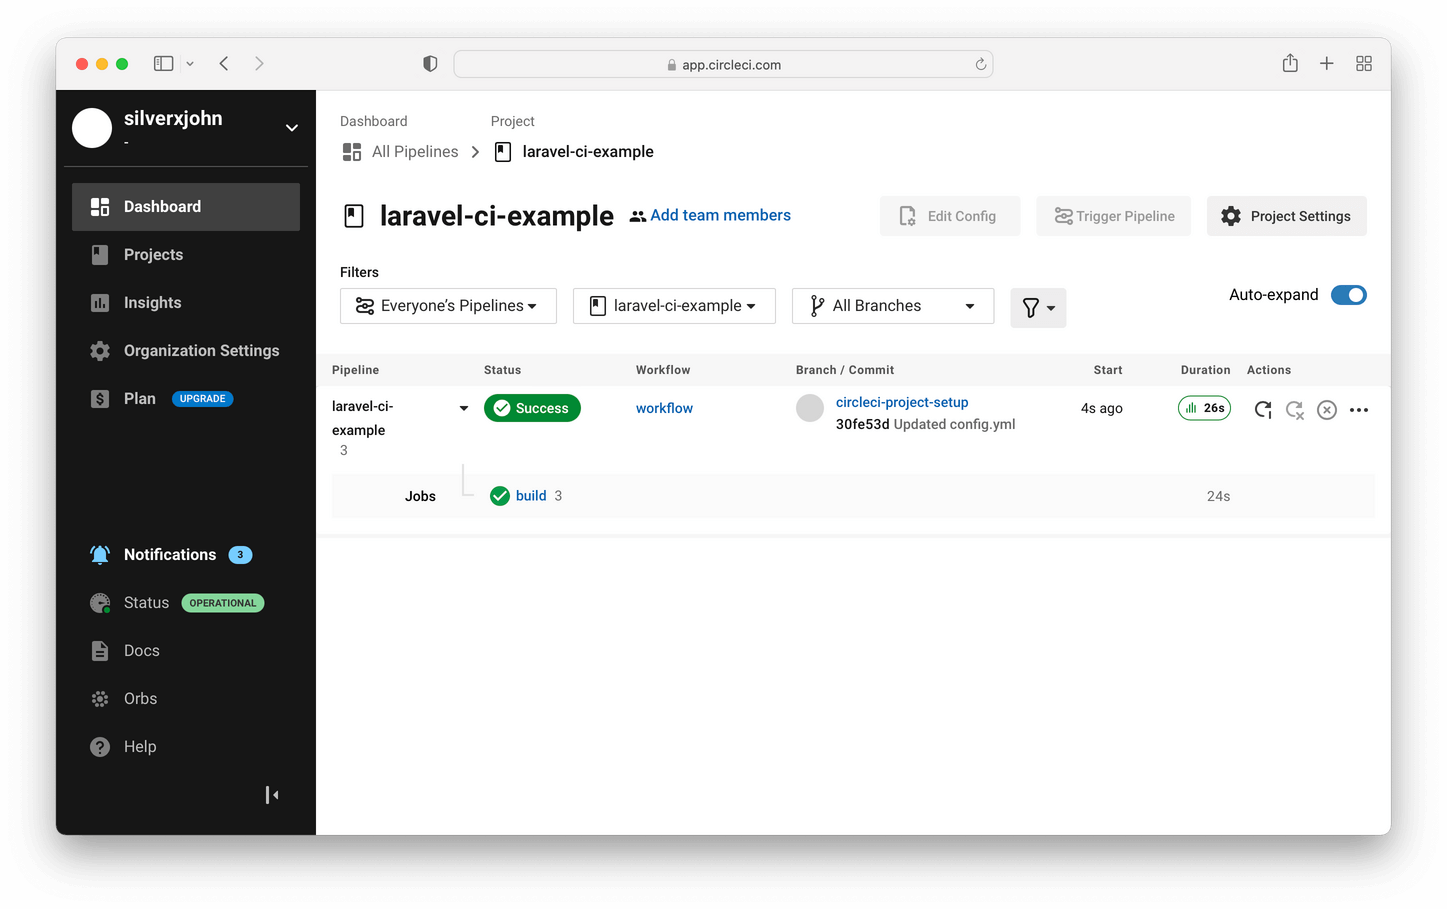
You now have setup CircleCI~